
How to Organize Photos on Iphone? | Step-by-Step Guide
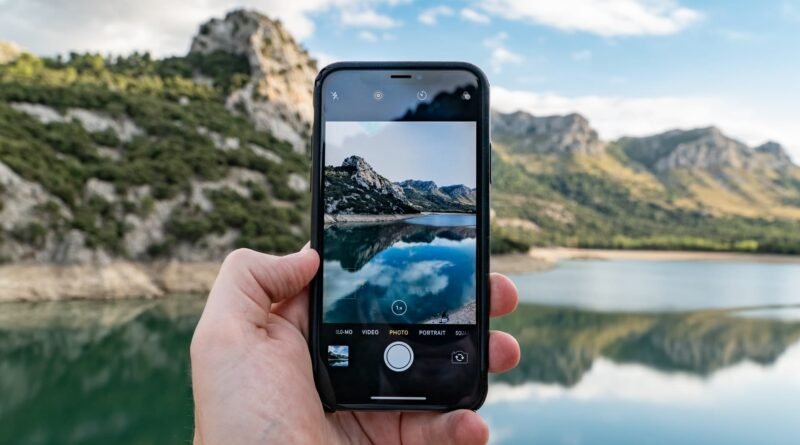
No luck locating the perfect photo in a sea of images on your iPhone? If yes, then this is the time to learn how to organize photos on iPhone. When your iPhones have hundreds of gigabytes of pictures and videos, it doesn’t take long for this library to become a mess. Happily, the Photos app has you covered when it comes to filtering, sorting and categorizing your memories. From making albums and marking favorites to sorting images by date or custom order, managing your photos has never been this easy. A well-arranged library not only saves precious time, but also will bring you the moments you would like to return again and again.
How to Organize Photos on Iphone?
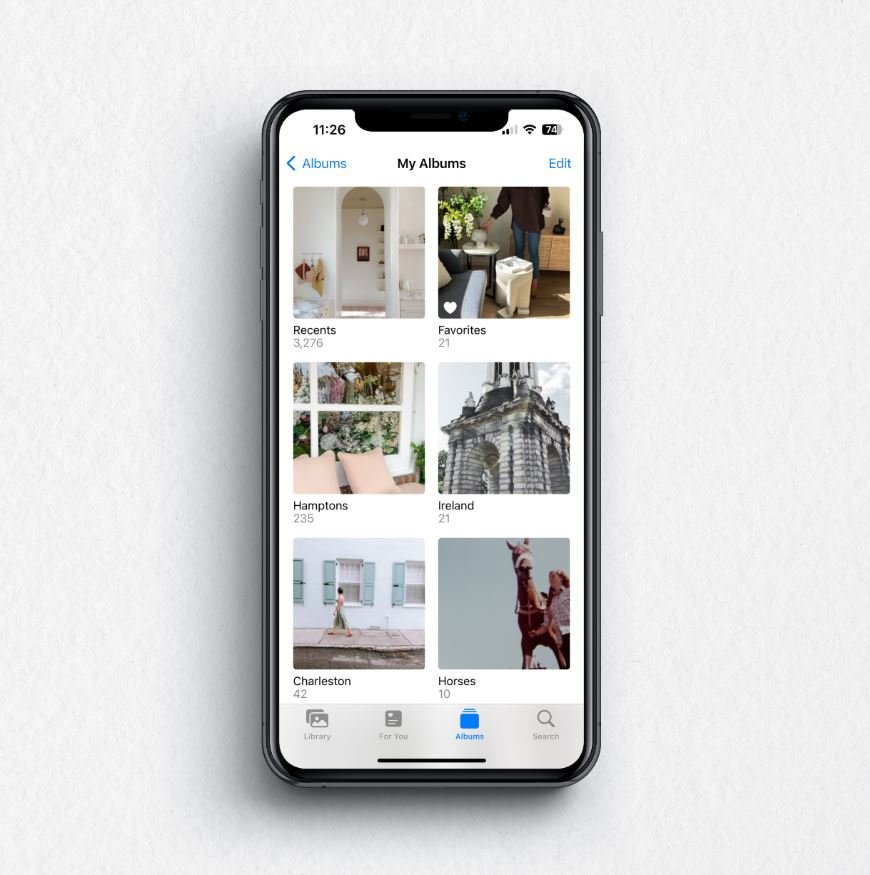
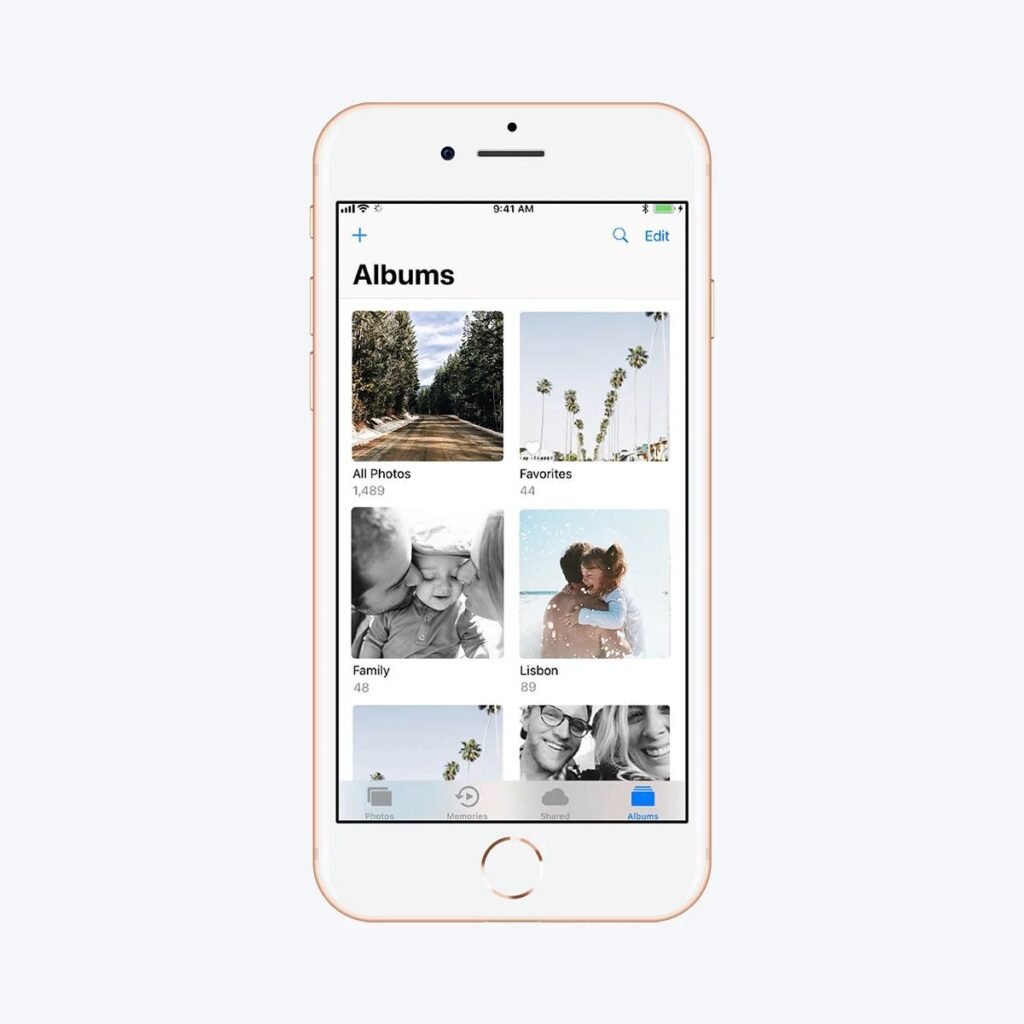
1. Creating Albums to Organize Your Memories
One of the most effective ways to organize your photo library is to understand how to organize photos on the iPhone through the album. You do not have to add all of them, but by combining your favorite memories in albums, you can easily find, share, share or move memories for a new device. To install an album, open the photo app, “album” and then tap “new album”, type a name for the album, and choose the pictures you want to live there. You can create themed albums such as “holidays,” “family” or “pets”. Albums require little work, but careful curates of your favorite memories, easily offering accessible catalogs.
2. Select Your Favorites
One of the first things you can do when you want to learn how to organize photos on iPhone is let’s figure out the photos that mean the most to you. Begin by scrolling through your library and tapping the heart icon on photos that hold significance for you. They are then automatically placed in your “Favorites” folder, for you to read later. One piece of advice is to be selective — select only the photos you really want to view again. Strive for 1-2 images from each major event, so you can remember them, but not get lost in them. Making the hard calls now will save you time and keep your photo collection meaningful and manageable.
3. Delete Duplicate Photos to Free Up Space
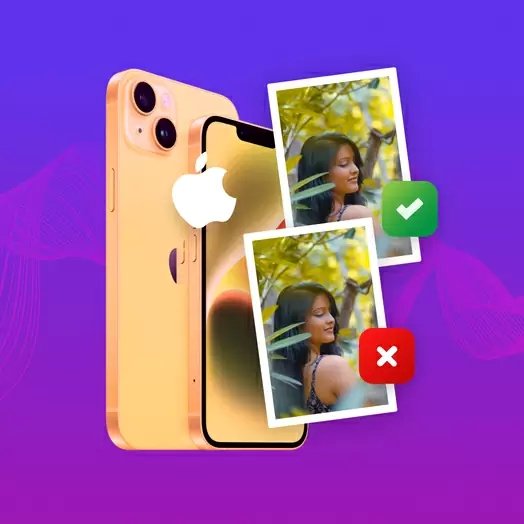
The easiest way to tidy up your photo library is to figure out how to organize photos on iPhone by deleting duplicates. Thanks to digital photography, we can take a million photos, but as a result, we can also end up with a bunch of dozens of identical shots on our camera roll. Thankfully with the help of apps like CleanUp and Smart Cleaner, you can clean up your library by scanning and deleting such photos.
These tools make it far more manageable to avoid storing only the best shots even if some those are more convenient and a few of them have free trials. By removing duplicates on a regular basis, you can simply keep your photo library clean and tidy, minimize the time to access your best memories.
4. Add a New Face to Your Photos
Facial Identification is a recreation changer with regards to gaining knowledge of the way to arrange pix at the iPhone. To create a new face, open a photo of the man or woman and swipe on the photo. Tap circles round their face, and select tag with name. Type the individual’s name, faucet the subsequent, and then tap. Once you be a part of, your iPhone will robotically apprehend this character in images and sort them into the album of the proper human beings. Not simplest does it shop time, but now you can easily locate all your favourite recollections with pals and own family in a handy area.
5. Delete Unnecessary Screenshots
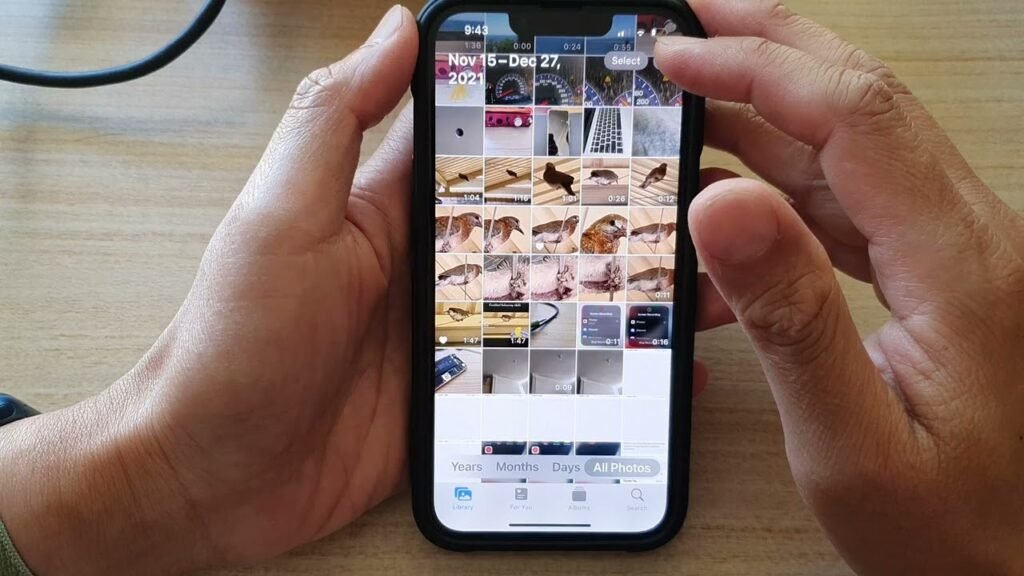
A secret to curating iPhone photos is beginning with screenshots. For most people, a huge percentage of the photo library is made up of random screenshots — things like chat snippets, receipts or jokes that you don’t really need anymore. Fortunately, the Photos app has an easy way to get rid of them. Simply scroll to the bottom of your Albums tab, locate “Media Types” and tap “Screenshots.” You’ll see every screenshot on your iPhone all in one place, here. You can spend a little time clicking through and deleting the ones you don’t need — which will instantly free up space and make your photo library seem a bit more organized.
6. Simplicity in the Cloud
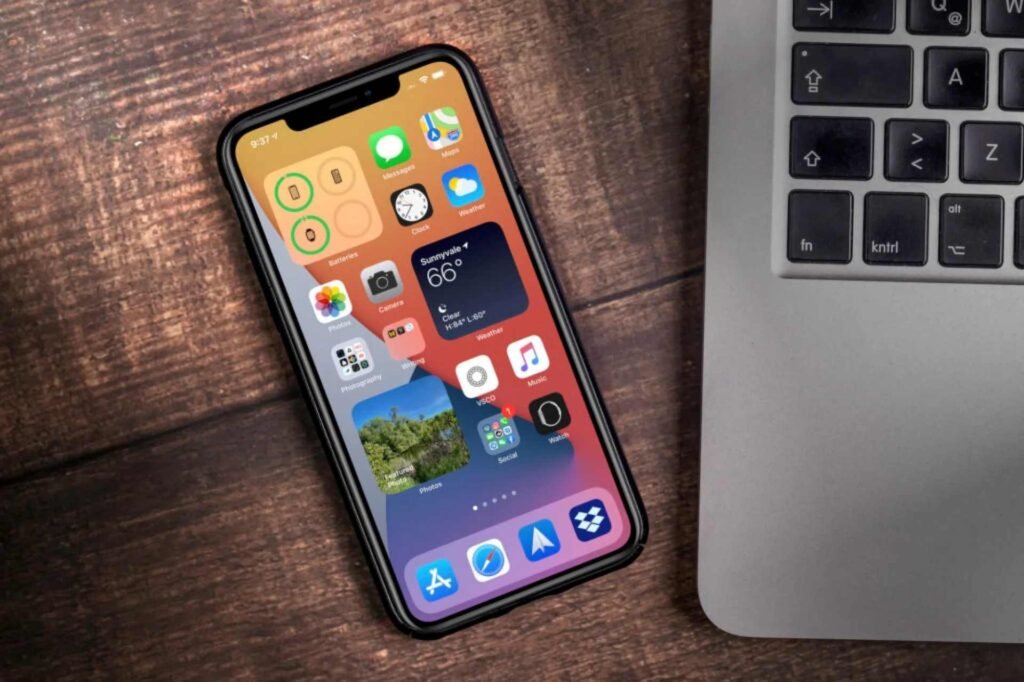
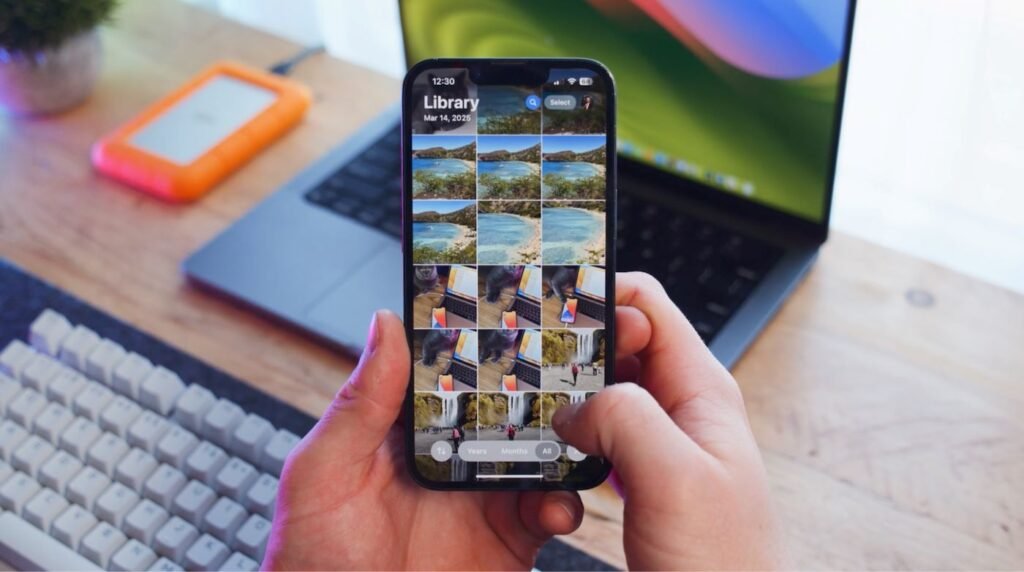
Apple Photos is one of the easiest methods for how to organize photos on iPhone. The app is preinstalled on every iOS device and automatically organizes your media, by date, location and even faces. iCloud Photo Library keeps your photos up to date everywhere, and with iCloud Drive, you can access your presentations, spreadsheets, PDFs, images, and any other kind of document from your iPhone, iPad, iPod touch, Mac, or PC. It’s an easy workflow, including plain old deletion and use of Albums to sort and save your picks. This is a hands-off system that allows you even less hassle keeping your photo library clean, accessible and perfectly organized.
7. Customize Your Photos App

The photo app in iOS18 looks slightly different, which can confuse the favorite and album. Fortunately, you can customize it according to your taste. At the bottom of the app, to determine which albums and collections show and in which order tap “Customize and Roll”. For example, you can hide the characteristics you don’t use, such as “wallpaper suggestions” or shared albums, and you can replace your most used albums to the right top. Knowing this to arrange photos on the iPhone in this way, will go a long way to prevent your library from becoming a mess and prevent your memories from reaching simple and sharp.
8. Make an Edit Folder for Easy Access
A smart trick for how to organize photos on iPhone is to make special “To Edit” and “Edited” folders. You can save time by doing this when you’re sifting through your library, looking for pictures you want to work on. Begin by visiting your “Favorites” folder, then paste into a “To Edit” album the pictures you want to edit. Leverage the “select all” feature to move groups of images at once for more efficient filing. After you finish photo editing them, move them into your “Edited” folder. It’s a simple workflow that keeps your photo library organized and the act of editing stress-free.
9. Utilize the Search Option
Of all the methods of learning how to organize photos on iPhone, one of the simplest is by taking advantage of the device’s own search function. Instead of scrolling endlessly, just input words like dates, places or objects and search for what you want. So, for example, searching for “dog” will immediately surface pictures of your furry friend, and you can get more specific by entering a location or year. This is making creating folders much faster and easier, so you can organise some photos together on the fly. It is applied as a search feature, so your albums will be ordered while your favorite moments can be accessed effortlessly.
10. Back It Up the Right Way
When you discover how to organize photos on iPhone, backup is the first thing you should not miss. After you’ve tidied up and labeled your library make a safe copy. Google Photos is one of the simplest and most dependable methods. Just download the app, adjust your backup settings and you’re ready. For maximum impact, manually back up after decluttering so your roll stays tidy. To make sure you do this often enough, set yourself a monthly reminder to delete/sort/back up your images. That way, your memories will stay organized and safe, without getting lost.
Read Next
7 Best Smart Home Technology Gadgets